

WordPress is one of the most widely used platforms for publishing content online. It’s often criticized as an insecure platform, but in reality WordPress itself is secure – it’s the many plugins, unmaintained or poorly developed, that generate significant vulnerabilities.
Many people host WordPress on Linux, often using Docker. While this is a valid approach, there are excellent alternatives – sometimes even better ones – for getting your WordPress site online in a secure, reliable, and updatable manner. The goal is to make the web a safer place and avoid the computing monoculture that increasingly pushes toward uniformity of solutions and setups – an attitude that I believe is harmful even when the solutions are open source.
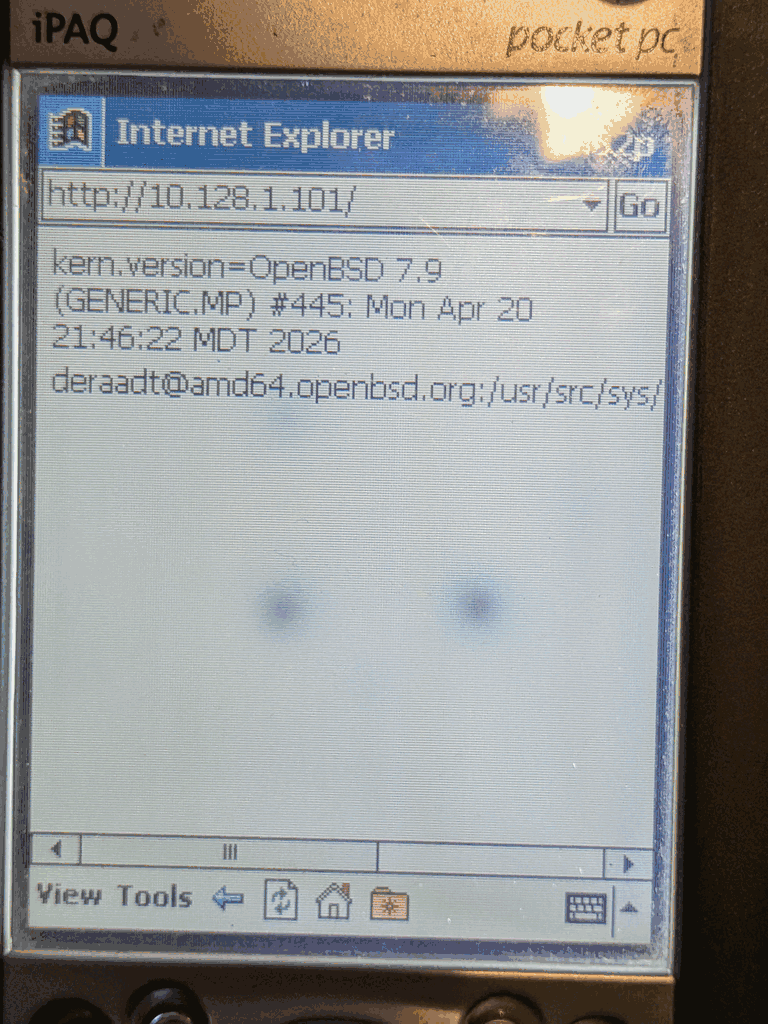
For this type of setup, therefore, I’ll describe how to accomplish everything using FreeBSD. The jail separation, performance, and ZFS versatility – all reasons that support this choice. This guide will serve as a foundation – everything will work at the end, but it won’t cover all possible combinations or configurations.
We’ll be using BastilleBSD, which supports both ZFS and UFS. While FreeBSD’s base system has everything needed to create and run jails, BastilleBSD is incredibly useful for managing them. Since it’s written in shell script and has no database dependencies, management and backups are straightforward. Furthermore, moving jails becomes extremely simple – either by using the bastille command directly or by copying the files (or datasets, if you’re using ZFS).
BastilleBSD also supports templates, but for this tutorial, we’ll perform the operations manually to understand each step.
First, install Bastille:
pkg install bastille
Next, run the setup process:
bastille setup
Now, bootstrap the desired FreeBSD release:
bastille bootstrap 14.3-RELEASE update
With that, BastilleBSD is ready to go.
Creating the Jails
Now, let’s create the jail that will contain Apache, PHP, and WordPress:
bastille create apache 14.3-RELEASE 10.0.0.254 bastille0
Note: This command will only create and assign an IPv4 loopback address. For IPv6, the simplest solution is to assign an address for the jail directly to the host’s interface. To do this, note an available IPv6 address and assign it to the jail. For example, if the host’s network interface is vtnet0:
bastille edit apache
Add the following lines to the configuration file:
ip6 = new;
ip6.addr = "vtnet0|2001:0DB8:1::443/64";
Restart the jail:
bastille restart apache
Next, let’s ensure that connections to the host’s ports 80 and 443 are redirected to the apache jail:
bastille rdr apache tcp 80 80
bastille rdr apache tcp 443 443
Now, if using ZFS, let’s create a dedicated dataset for WordPress and mount it in the jail. The reason is simple: decoupling the Apache jail from the WordPress directory will allow for updates, rollbacks, etc. of the Apache jail without touching the WordPress files. I assure you that, in the long run, this approach will save many headaches.
zfs create zroot/wordpress
bastille mount apache /zroot/wordpress/ /usr/local/www/wordpress nullfs rw 0 0
Now, let’s create the jail that will contain MariaDB:
bastille create mariadb 14.3-RELEASE 10.0.0.253 bastille0
Configuring the MariaDB Jail
Access the MariaDB jail’s console:
bastille console mariadb
Once inside, install the MariaDB server:
pkg install mariadb118-server
Enable and start the mysql-server service:
service mysql-server enable
service mysql-server start
Now, access the MySQL command line to set up the WordPress database:
mysql
Execute the following SQL commands (you should use more secure user, password, etc.):
CREATE USER wp@10.0.0.254 IDENTIFIED BY 'password';
CREATE DATABASE wordpress;
GRANT ALL PRIVILEGES ON wordpress.* TO wp@10.0.0.254;
FLUSH PRIVILEGES;
Exit the MariaDB jail console to return to the host.
Configuring the Apache & PHP Jail
Now, let’s configure the apache jail. First, access its console:
bastille console apache
Inside the jail, install PHP and all the necessary extensions. We won’t install WordPress from the FreeBSD package – while it’s updated and maintained, I prefer to manage dependencies manually. It will be easier to manage updates in the long term, such as changing PHP versions, etc. At the time of writing this article, for example, the WordPress package depends on PHP 8.3 while I prefer to use 8.4.
pkg install php84 php84-bcmath php84-bz2 php84-calendar php84-ctype php84-curl php84-dom php84-exif php84-fileinfo php84-filter php84-ftp php84-gd php84-gettext php84-iconv php84-intl php84-mbstring php84-mysqli php84-opcache php84-pcntl php84-pdo php84-pdo_mysql php84-pecl-imagick php84-phar php84-posix php84-readline php84-session php84-shmop php84-simplexml php84-soap php84-sockets php84-sodium php84-tokenizer php84-xml php84-xmlreader php84-xmlwriter php84-xsl php84-zip php84-zlib
Next, install Apache:
pkg install apache24
Modify /usr/local/etc/apache24/httpd.conf to enable the required modules. Uncomment or add the following lines:
LoadModule mpm_event_module libexec/apache24/mod_mpm_event.so
#LoadModule mpm_prefork_module libexec/apache24/mod_mpm_prefork.so
#LoadModule mpm_worker_module libexec/apache24/mod_mpm_worker.so
...
LoadModule proxy_module libexec/apache24/mod_proxy.so
...
LoadModule proxy_fcgi_module libexec/apache24/mod_proxy_fcgi.so
...
LoadModule ssl_module libexec/apache24/mod_ssl.so
...
LoadModule rewrite_module libexec/apache24/mod_rewrite.so
Enable and start the Apache service:
service apache24 enable
service apache24 start
To optimize performance, enable PHP-FPM to listen on a socket. Modify the /usr/local/etc/php-fpm.d/www.conf file.
Comment out this line:
;listen = 127.0.0.1:9000
And add these lines:
listen = /tmp/php-fpm.sock
listen.owner = www
listen.group = www
Now, we need to configure Apache to use PHP-FPM correctly. Create the file /usr/local/etc/apache24/Includes/php-fpm.conf and add the following:
<FilesMatch \.php$>
    SetHandler proxy:unix:/tmp/php-fpm.sock|fcgi://localhost/
</FilesMatch>
Restart Apache for the changes to take effect:
service apache24 graceful
It’s good practice to copy the production PHP template to the final, modifiable php.ini file, which can be customized with the required options and limits:
cp /usr/local/etc/php.ini-production /usr/local/etc/php.ini
Make any desired changes now (or later), then enable and start PHP-FPM:
service php_fpm enable
service php_fpm start
Installing WordPress
Navigate to the web server’s root directory:
cd /usr/local/www
Download and extract the latest version of WordPress:
fetch https://wordpress.org/latest.zip
unzip latest.zip
Set the correct permissions:
chown -R www:www wordpress/
Now, create an Apache virtual host configuration file at /usr/local/etc/apache24/Includes/wordpress.conf – be sure to modify the “example.com” with your own real domain name:
<VirtualHost *:80>
    ServerAdmin webmaster@example.com
    ServerName example.com
    ServerAlias www.example.com

    DocumentRoot /usr/local/www/wordpress

    <Directory /usr/local/www/wordpress>
        DirectoryIndex index.php index.html index.htm
        Options FollowSymLinks MultiViews
        AllowOverride All
        Require all granted
    </Directory>

    ErrorLog "/var/log/httpd-example.com-error.log"
    CustomLog "/var/log/httpd-example.com-access.log" combined

</VirtualHost>
Finally, restart Apache one more time:
service apache24 graceful
The server will now respond on port 80 with the specified hostname, but this is absolutely not optimal or recommended. It’s therefore appropriate to generate a certificate to enable HTTPS.
For a simple solution, I recommend installing certbot with the Apache plugin to manage everything through Apache:
pkg install py311-certbot py311-certbot-apache
In order to automatically renew the certificates, add this line to /etc/periodic.conf:
weekly_certbot_enable="YES"
And, once installed, generate the certificate:
certbot --apache -d example.com -d www.example.com
You can now proceed to connect to the specified URL and begin with the WordPress guided installation, remembering the authentication and database details (the host, in this example, is 10.0.0.253 – not localhost, since we installed it in a dedicated jail).
Congratulations, your site is installed and operational. Ready to receive content for publishing. It’s exposed on IPv4 and IPv6, with HTTPS (and automatic certificate renewal, managed directly by FreeBSD) and separated from the database.
Generally, I prefer to add an additional jail with a reverse proxy. This way it will be possible to install different software in different jails, ensuring that the reverse proxy “routes” requests correctly. I’ll explain this procedure in a future article.
While this is my inaugural FreeBSD post for the BSD Cafe Journal, I’ve actually written extensively on the topic for my own blog, https://it-notes.dragas.net


patpro
@stefano Why did you choose to install packages from inside jails instead of using
bastille pkg?Remote Reply
Original Comment URL
Your Profile
Why do I need to enter my profile?
This site is part of the ⁂ open social web, a network of interconnected social platforms (like Mastodon, Pixelfed, Friendica, and others). Unlike centralized social media, your account lives on a platform of your choice, and you can interact with people across different platforms.
By entering your profile, we can send you to your account where you can complete this action.